It’s a common issue in 1997-2006 Wranglers to find that water has pooled on your passenger floor boards after a heavy rain. The good news is it’s a simple fix resolved by clearing out the drain under your cowl. Be aware that this guide is specifically for when you find water accumulation after inclement weather. If you have persistent pooling of water on your floor boards regardless of weather it is either a problem with your A/C condensation drain or if the water is mixed with coolant then you most likely have a heater core problem and this guide is not for you.
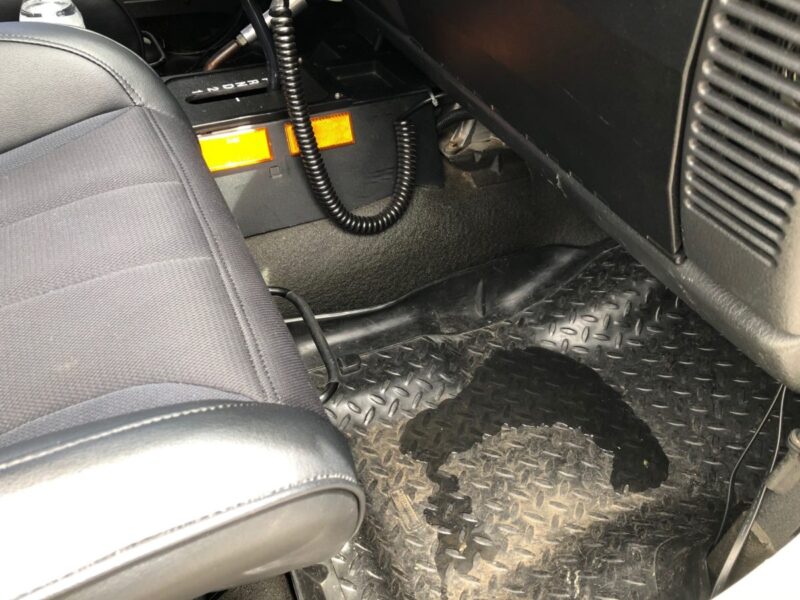
First we will talk about the root cause of the issue. The air intake for your A/C and heater is located underneath the cowl of your jeep. Naturally it has to have some exposure to the elements to draw fresh air from outside the vehicle. In order to keep water from entering your system there is a drain, however this drain can become clogged which results in the water pooling underneath the cowl to a level that enters the air intake and the interior of the vehicle.
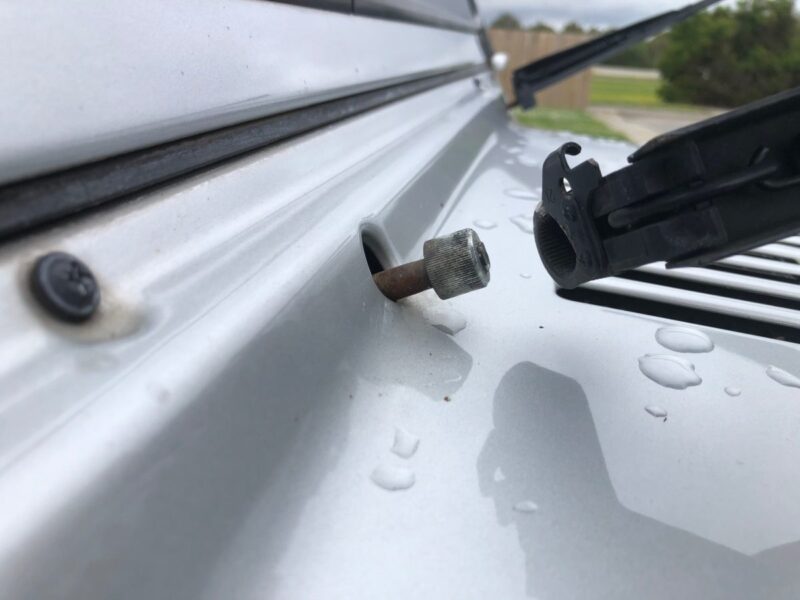
There are two methods to clear this drain. The first I will go over is the simplest but in my opinion the most difficult due to the poor access to the retention nut and the risk of dropping the nut or wrench during disassembly and reassembly.
First Method:
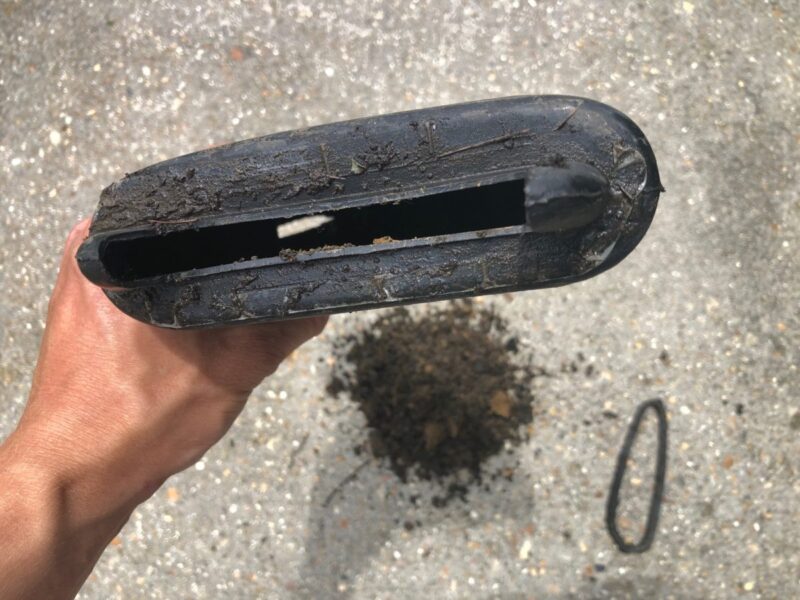
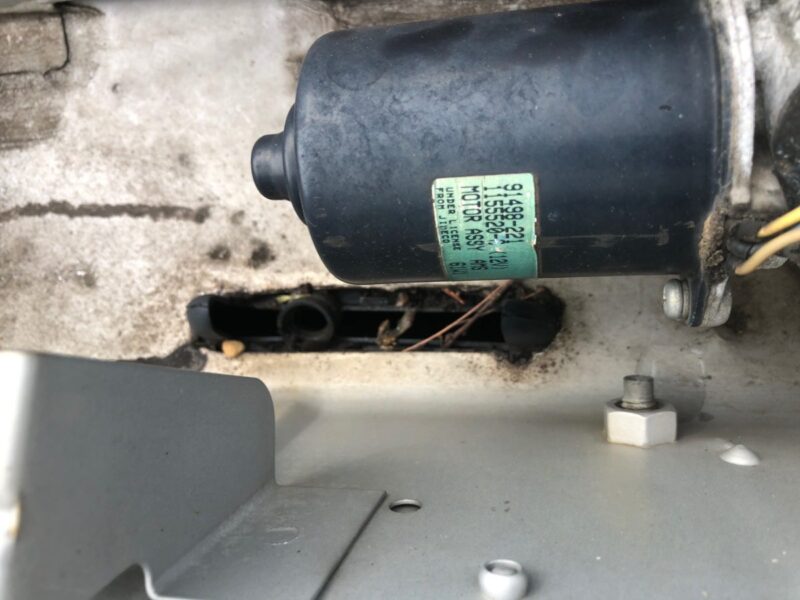
If you open your hood, the cowl drain funnel can be located at the top center of the firewall directly behind the valve cover. It is difficult to get to but there is a single nut and stud holding the drain against the firewall on the passenger side of the vehicle. This nut can be removed with an 11mm wrench.
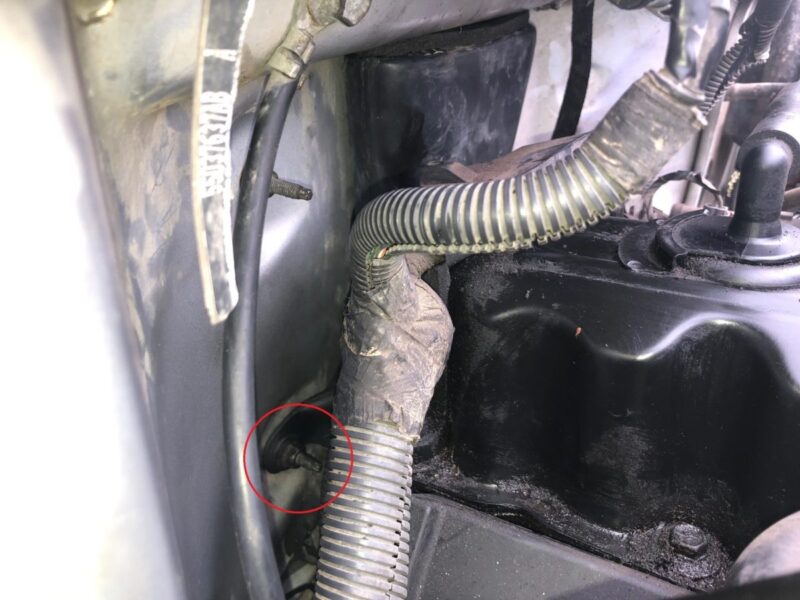
Once you remove this nut pull the drain funnel off of the stud and then you can move the drain down away from the cowl and out from behind the engine on the driver side.
Once removed, clear the funnel of any blockages and debris. You’ll be impressed just how much dirt and vegetation will accumulate in this funnel over the years.
Reassemble in the reverse order you took it apart and you are good to go.
Second Method:
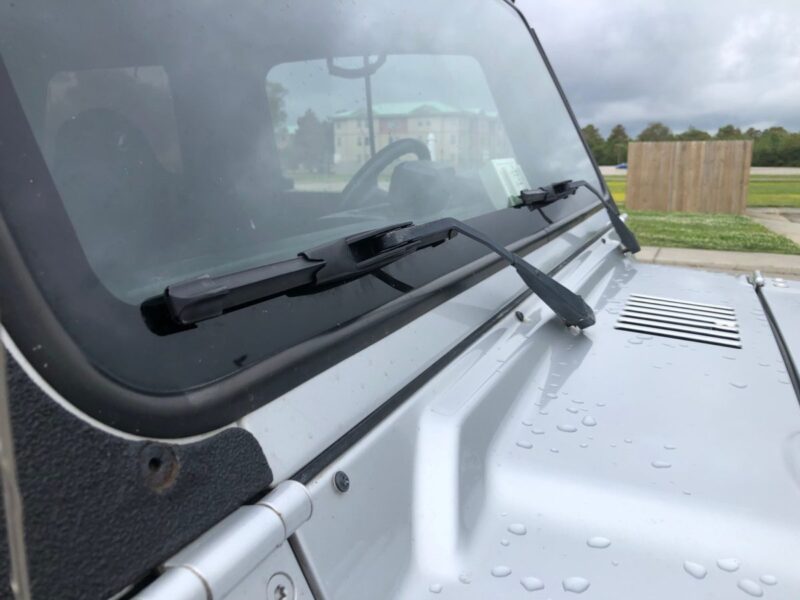
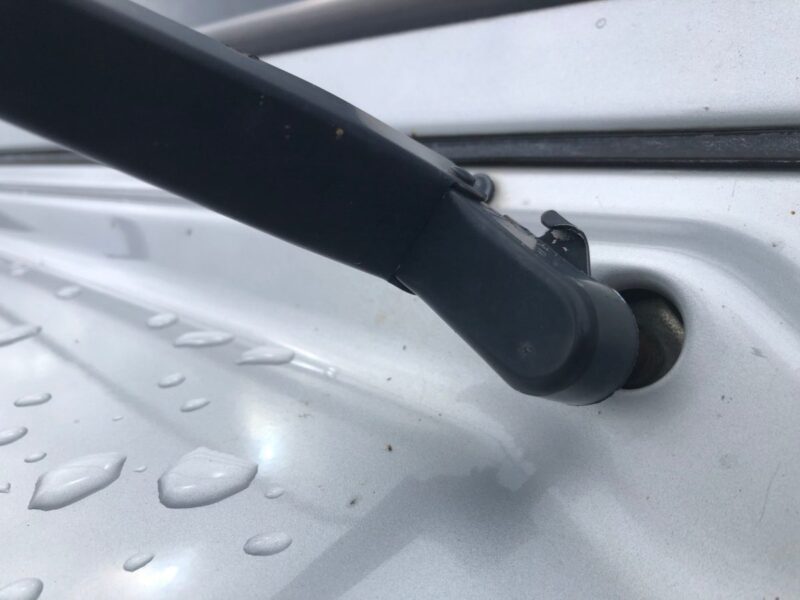
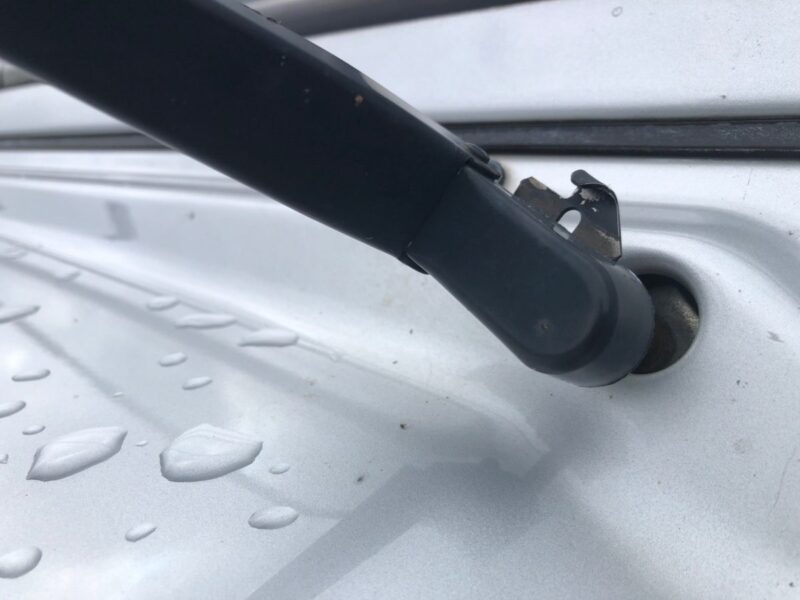
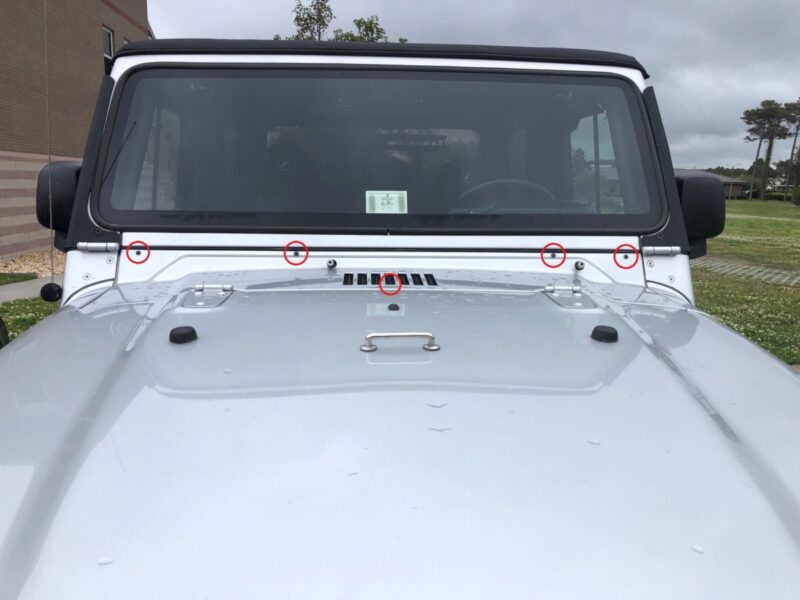
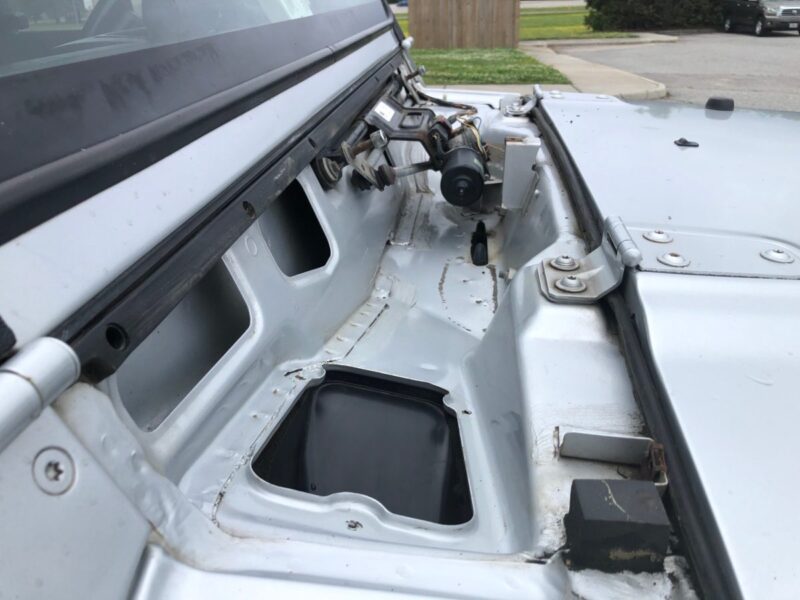
Remove the windshield wipers. This is done by folding them in the upward position, sliding the retention clip outward, and then pulling the base of the wipers away from the windshield.
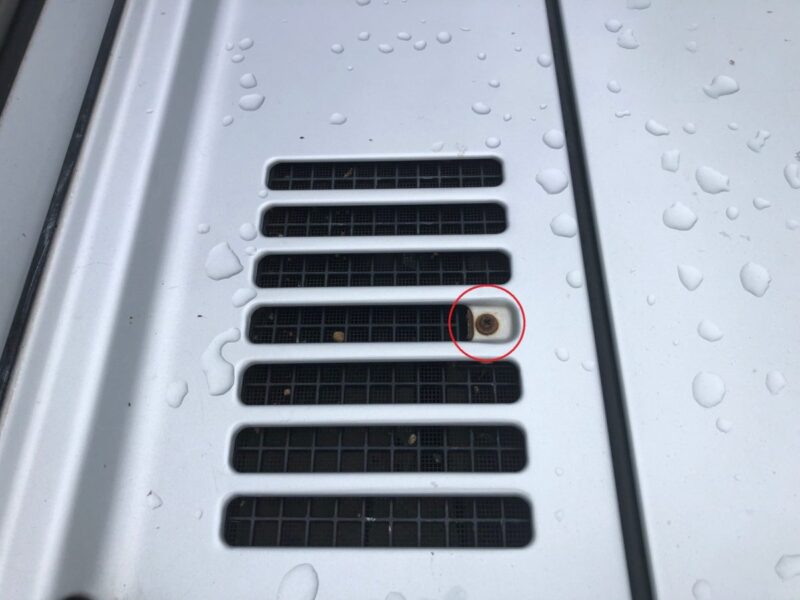
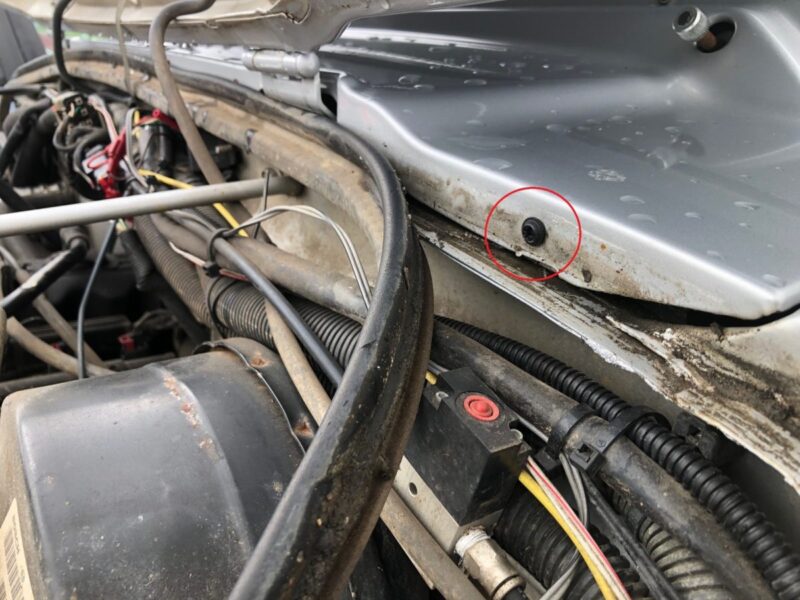
Using a Phillips/cross-head screwdriver remove the seven screws holding on the cowl. Four are located along the base of the windshield, one is in the center of the cowl grate, and two are behind the hood seal. Note that completely removing the hood seal will help with reinstalling the cowl later in the correct location behind the seal.

Gently lift the cowl up each side taking care not to bend the cowl. I find it is easiest to initially lift the cowl with the hood open, then closing the hood to complete the removal. Note: be careful not to scratch the paint on the cowl against the windshield wiper studs.
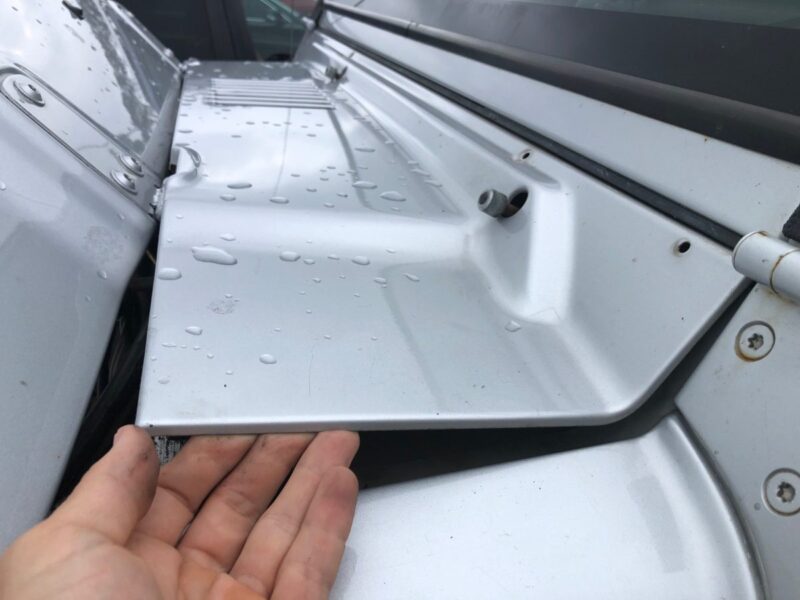
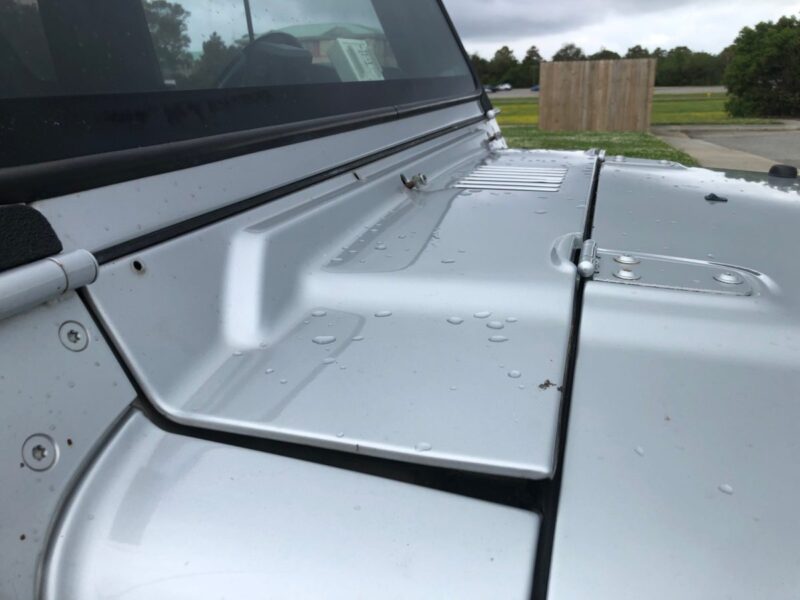
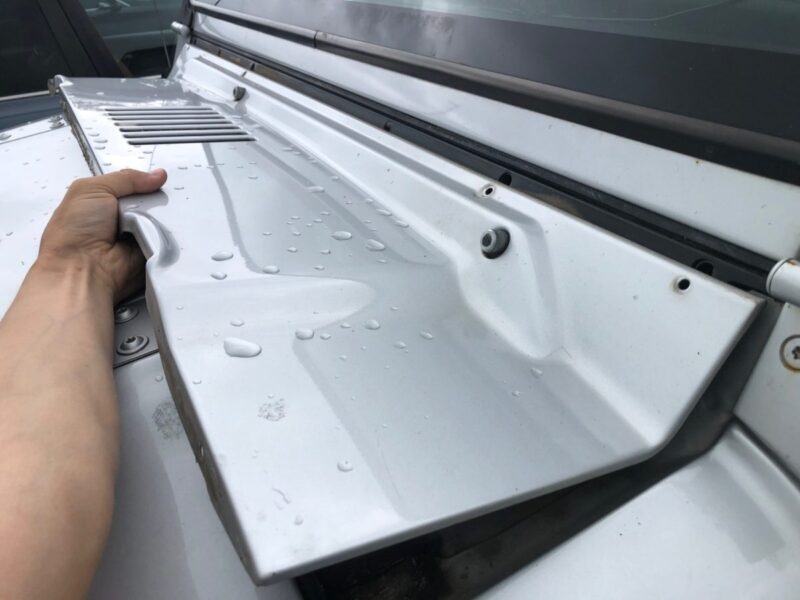
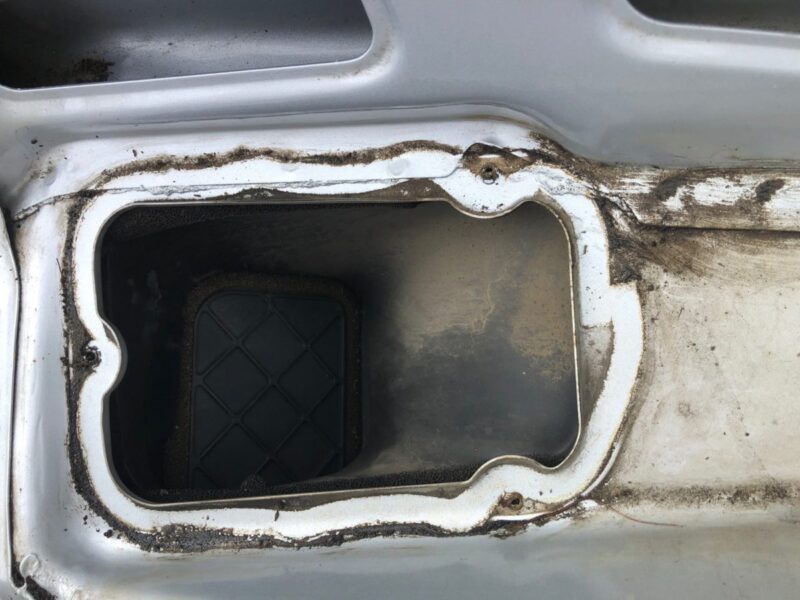
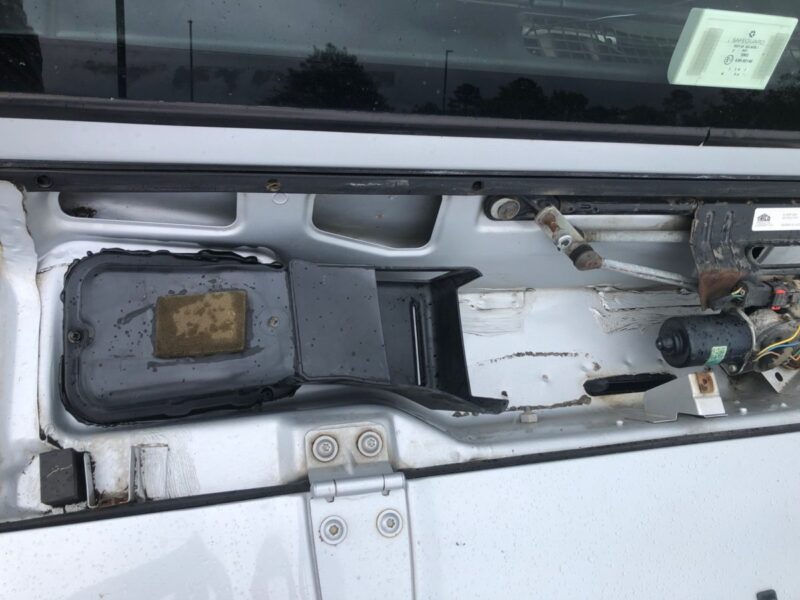
You will now see the drain in the center near the windshield wiper motor and the air intake on the passenger side.
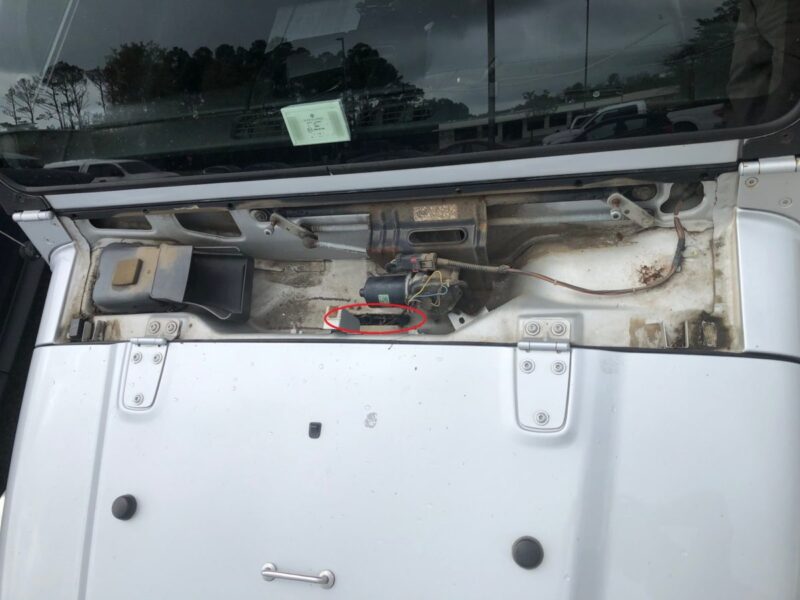
Now clear out the drain. Effective methods include blowing it out with an air compressor, high pressure water, using a long screw driver, a wire coat hanger, or using a shop vacuum.
At this point your problem is solved. You can reassemble the cowl in the reverse order of how you took it apart. That being said there are additional steps you can take for further assurance and protection that water will no longer enter your air intake.
Optional Steps:
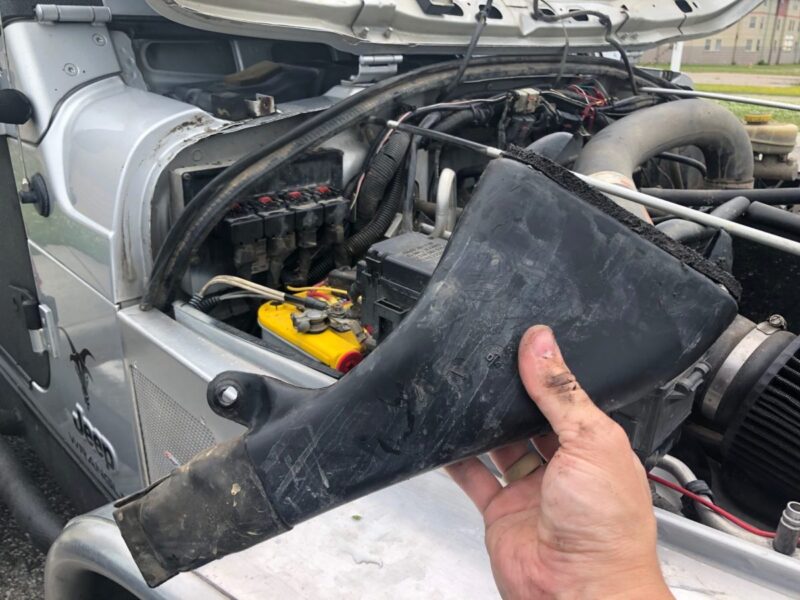
Remove the three screws holding the air intake cover and lift straight up. Then clean all surfaces.

Lay a bead of weather gasket adhesive around the edge of the cover and secure the cover back in place. Note that the air intake covers changed designs from 1997-2006 so yours may look different.
Reassembly:
Replace the cowl, secure it in place with the seven screws, reattach the hood seal, and reinstall the windshield wipers.